How to Create a Social Media Graphic in PhotoCraft
Resize a pastel sky photo to a 1080 × 1440 portrait cover, add a title on its own layer and check the PNG export settings.
1. Open PhotoCraft
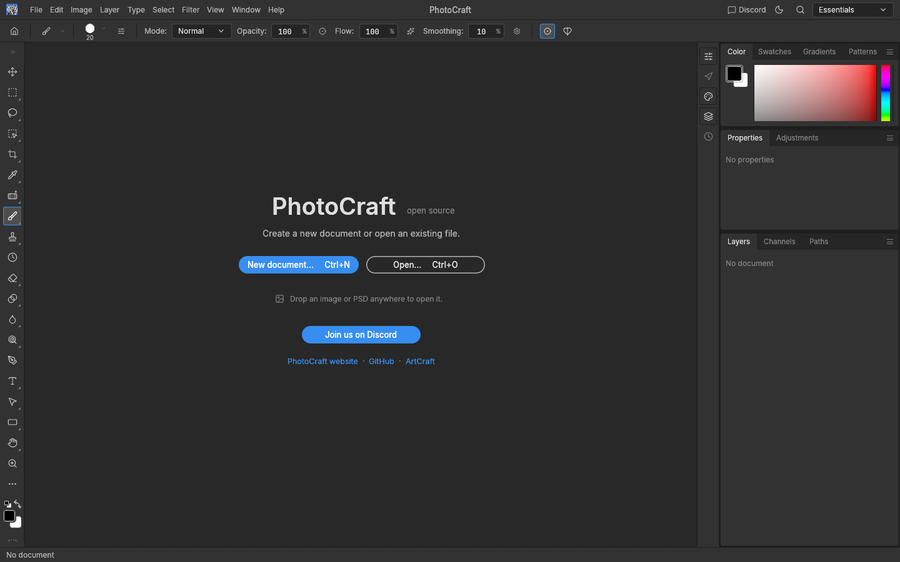
Open the online editor in a desktop browser and wait for the welcome screen. You will see two buttons: New document and Open. For this tutorial, you want Open.
If this is your first visit, the editor may show an analytics notice. Declining it is fine and changes nothing about editing.
2. Open the practice photo
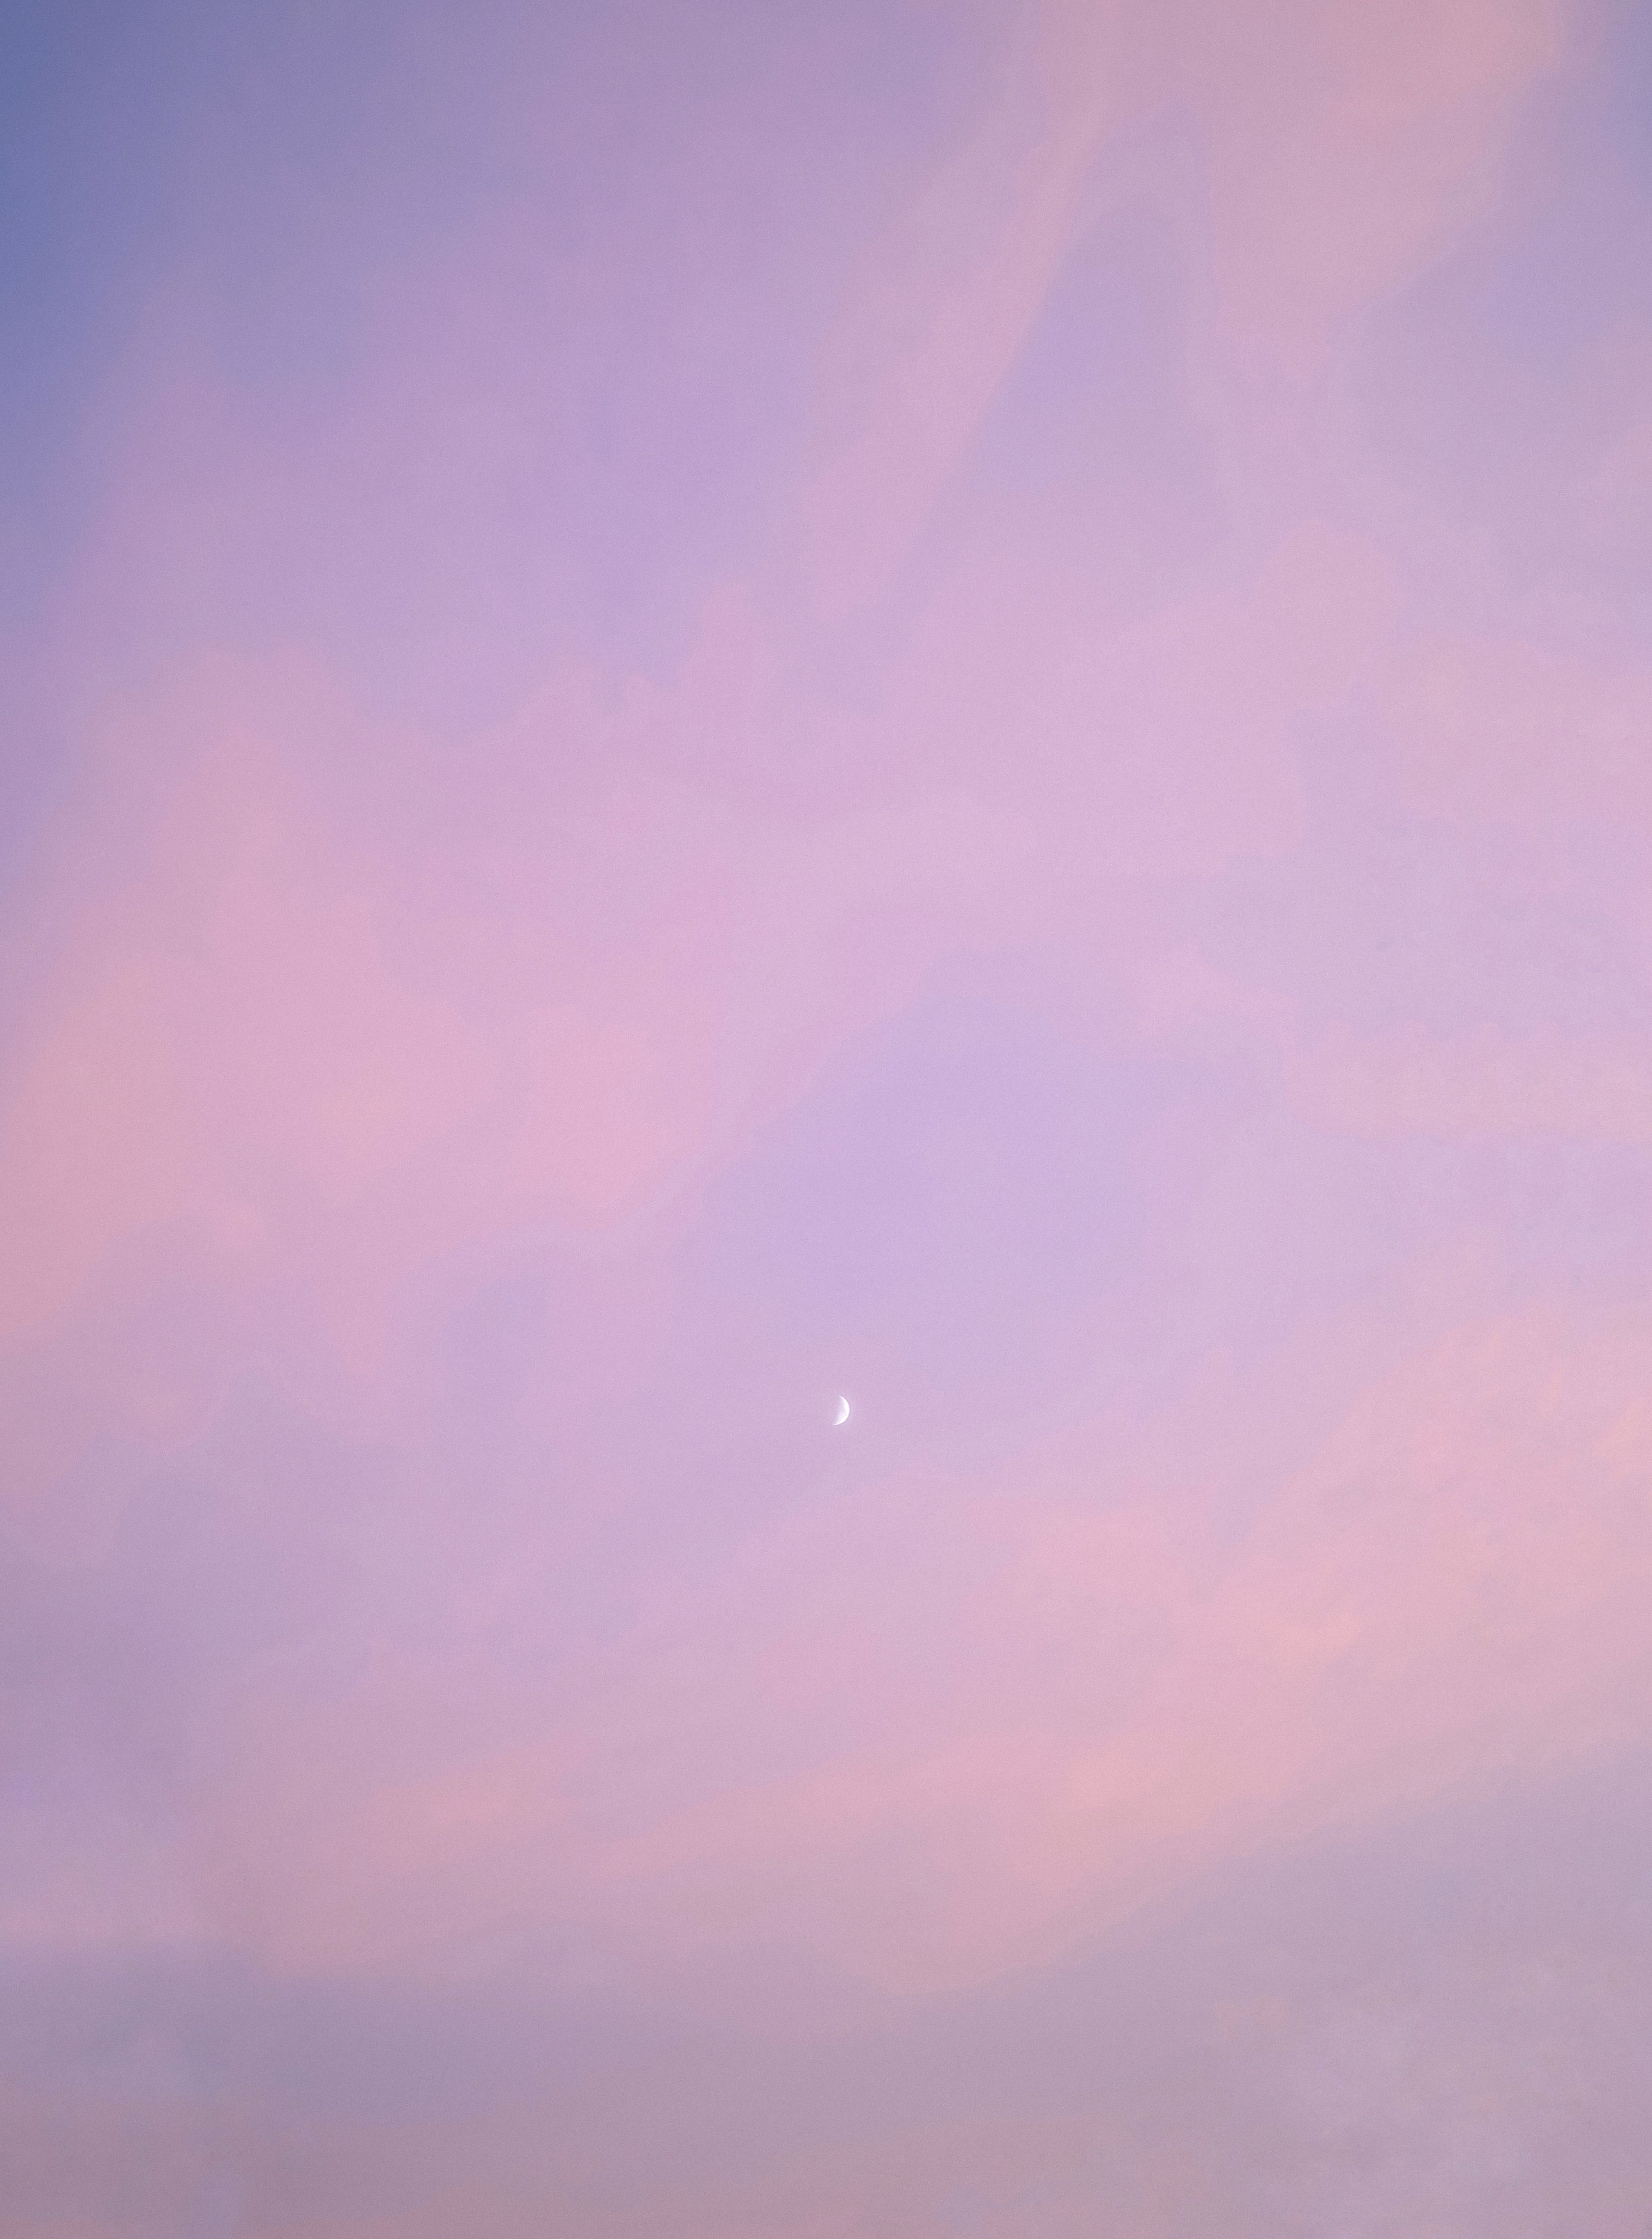
Grab the practice photo first: download the JPEG (4240 × 5746 px, about 2 MB). The photo is Pastel-colored sky (practice photo) by Mehul Kassi, shared under the Pexels License — original on Pexels.
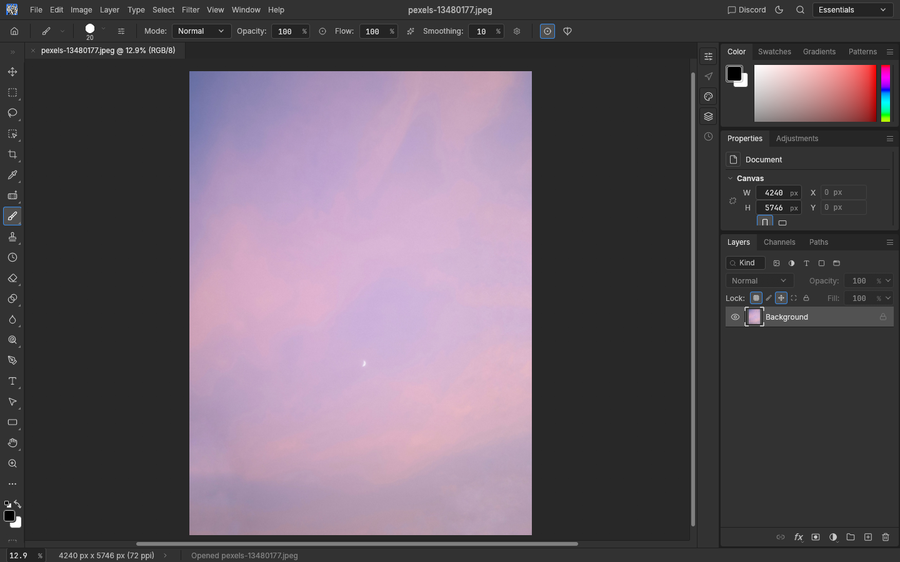
Press Ctrl+O (Cmd+O on Mac) and pick the file you just saved. Once it opens, you should see a single layer called Background in the Layers panel on the right.
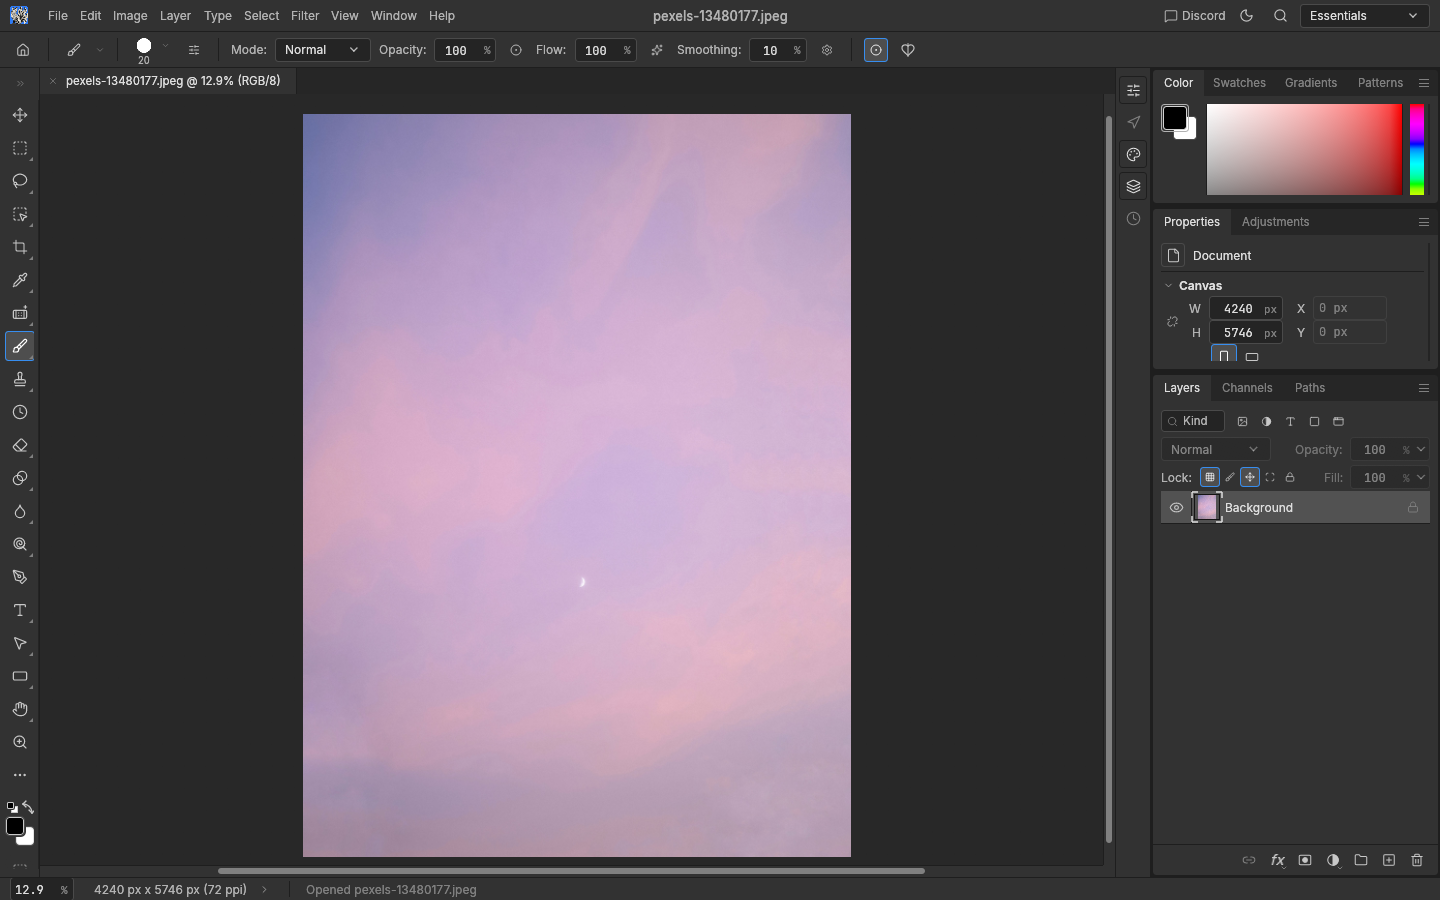
3. Find the Image Size fields
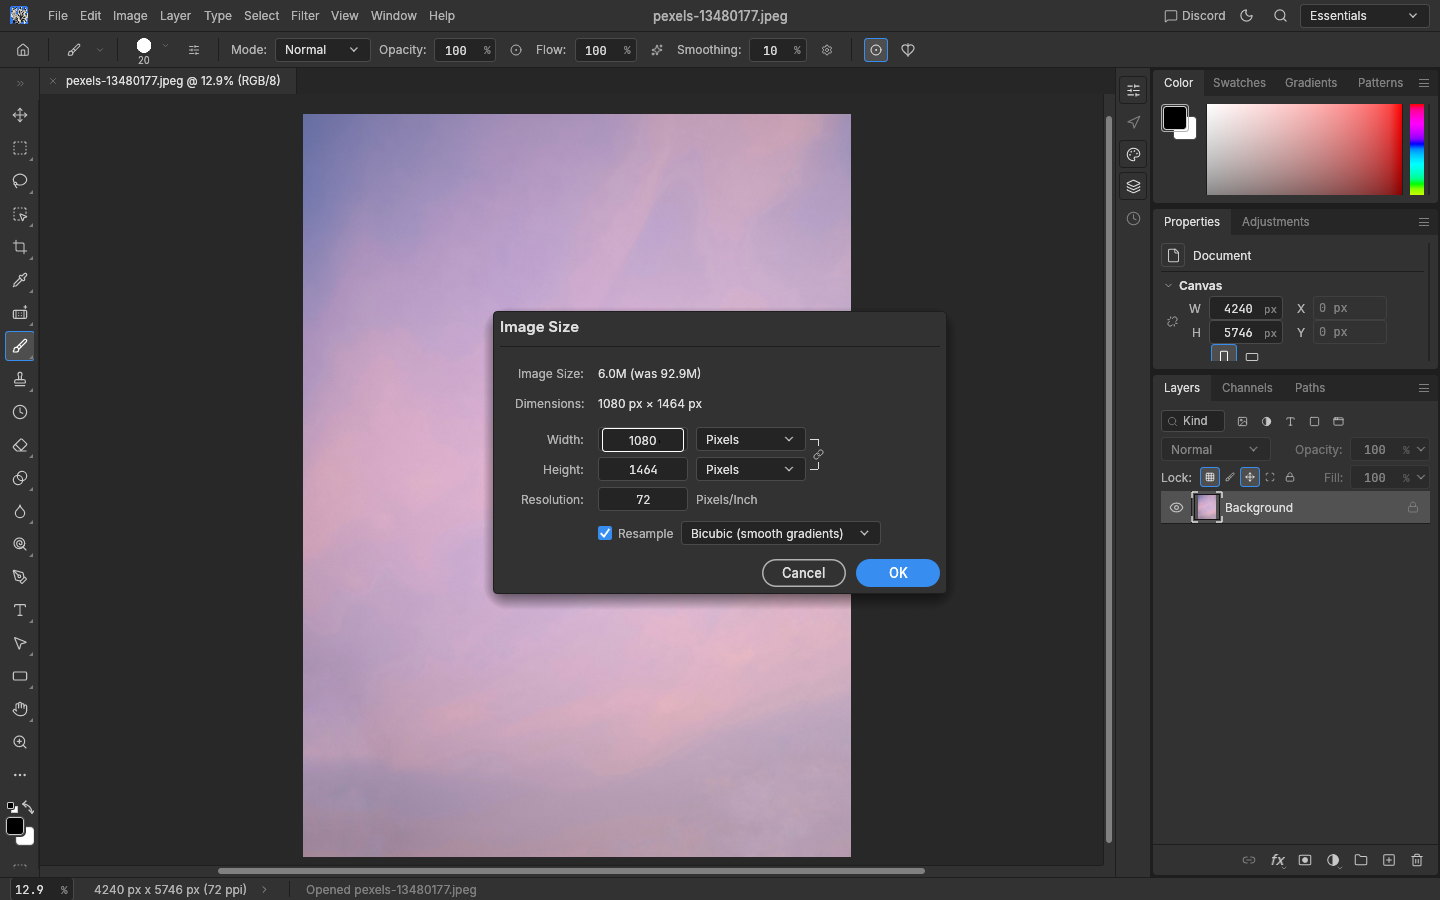
Open Image → Image Size, or press Ctrl+Alt+I. You will see the current dimensions displayed as read-only values at the top. The editable Width and Height fields sit below them.
Make sure the chain icon between Width and Height is linked. That keeps Constrain Proportions on, so the photo scales evenly.
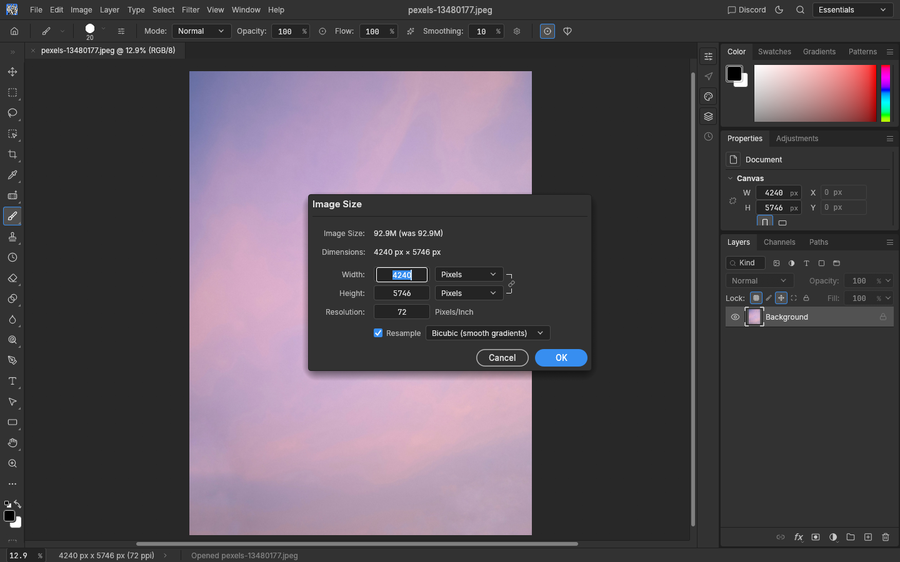
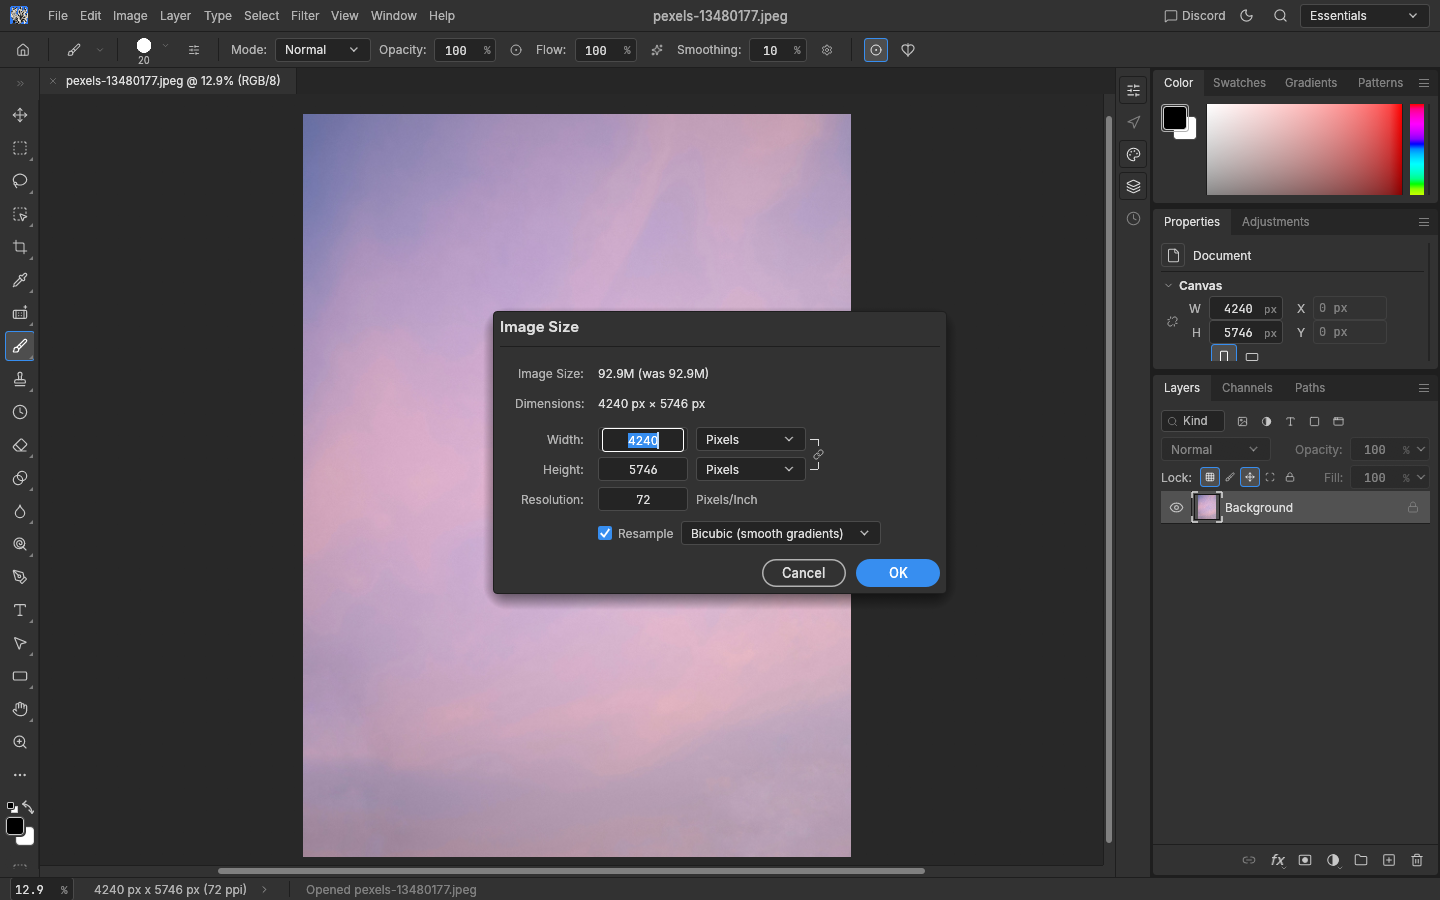
4. Resize the photo to 1080 pixels wide
Type 1080 in the editable Width field. Because the chain is linked, Height updates to 1464 on its own. Hit Enter to confirm.
Your photo is now 1080 × 1464 pixels. That is close to 3:4 but 24 pixels too tall. The next step trims the extra height.
5. Open Canvas Size
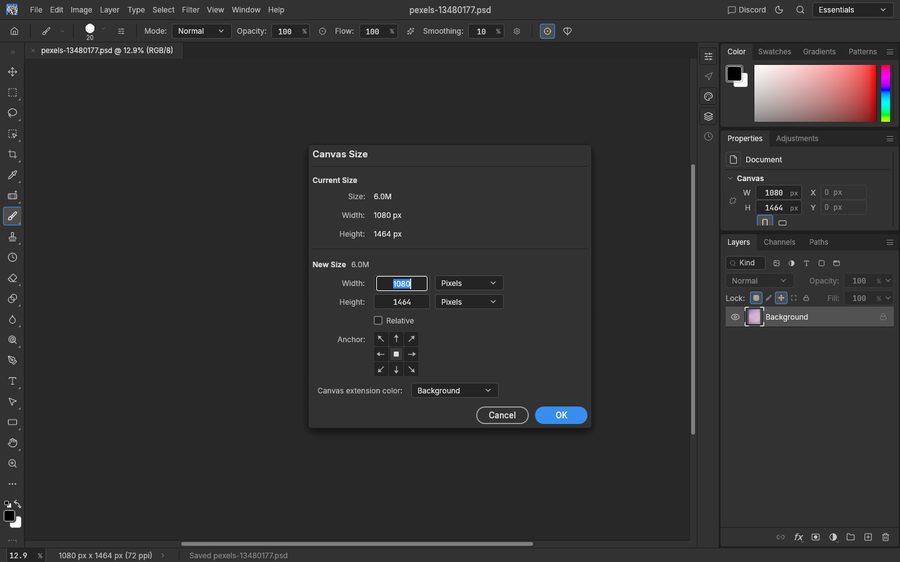
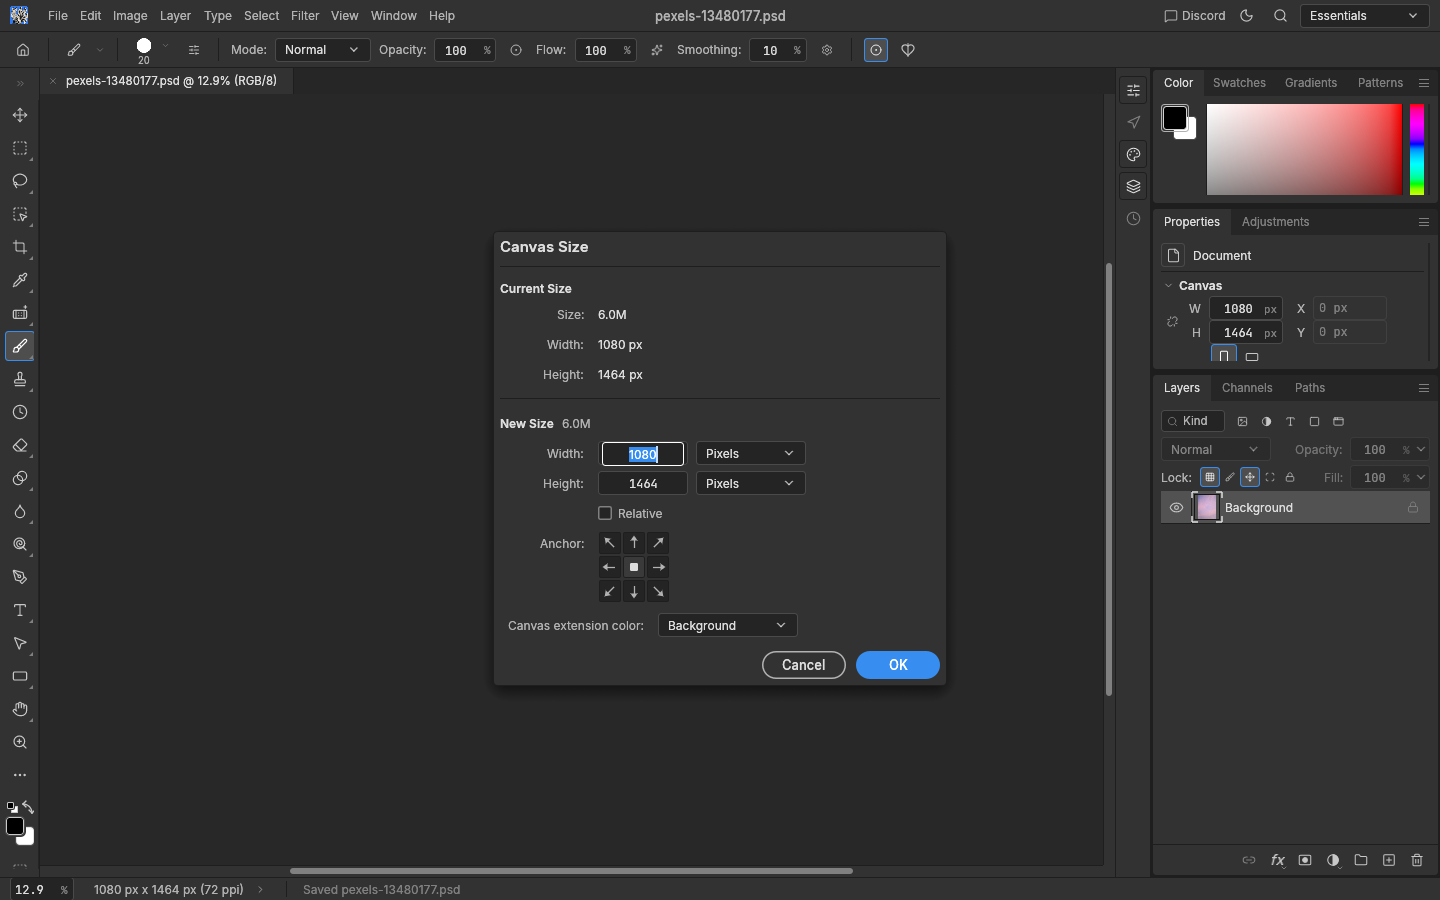
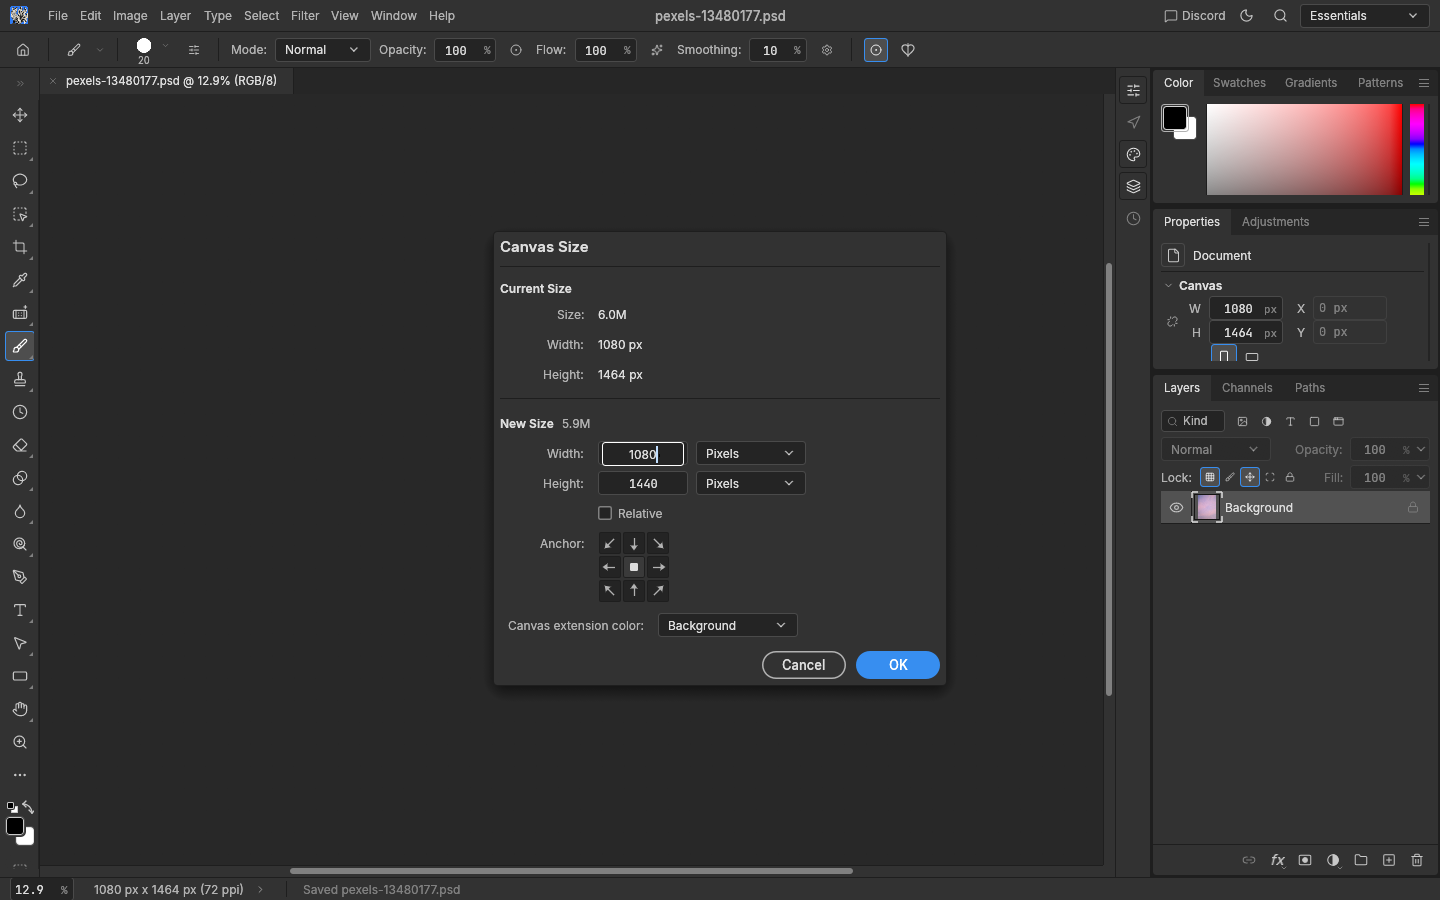
Open Image → Canvas Size, or press Ctrl+Alt+C. The editable size fields are below the anchor and extension options.
Image Size resized the photo. Canvas Size will trim the canvas from 1464 down to 1440 pixels high, giving you the exact 3:4 cover.
6. Set the canvas to 1080 × 1440
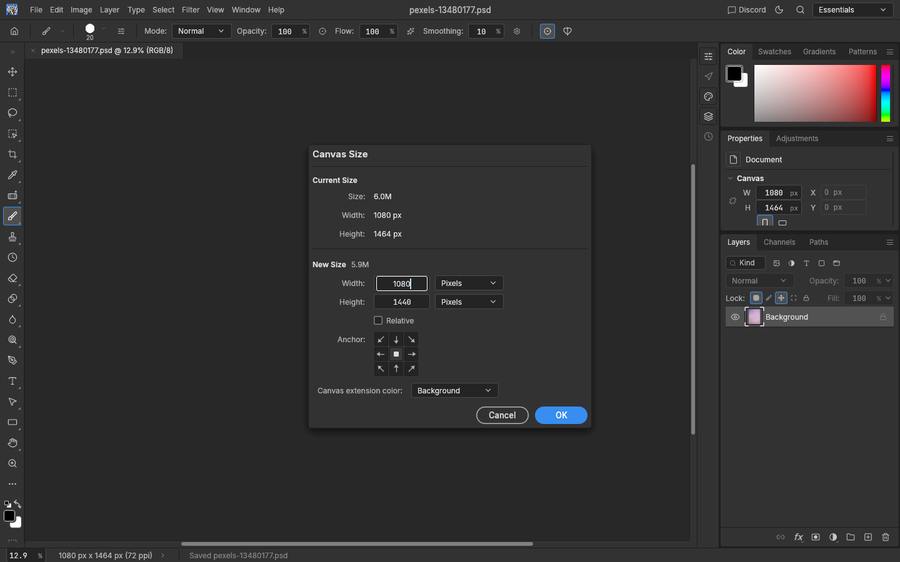
Enter Width 1080 and Height 1440, then confirm. Both fields accept typed values.
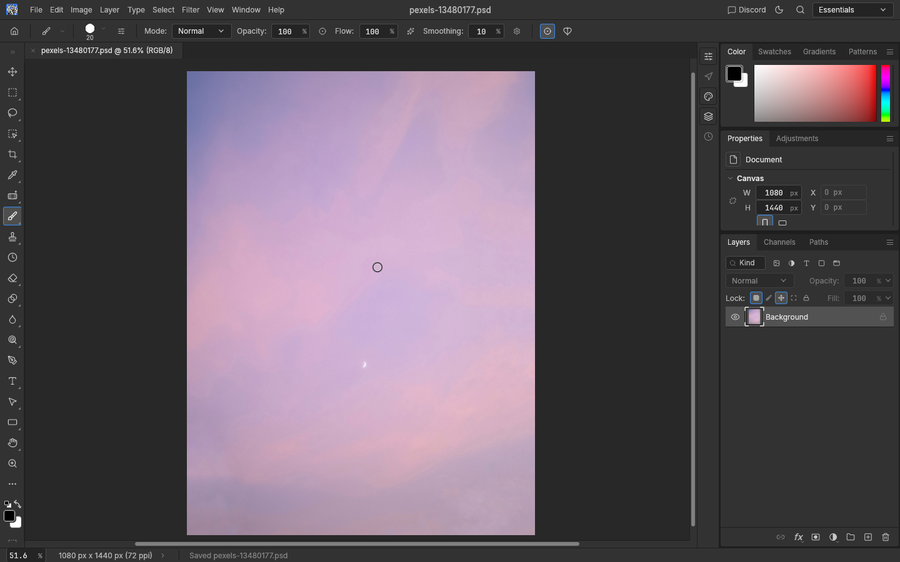
Glance at the status bar along the bottom. It should read 1080 × 1440, your finished 3:4 portrait canvas.
7. Fit the canvas on screen
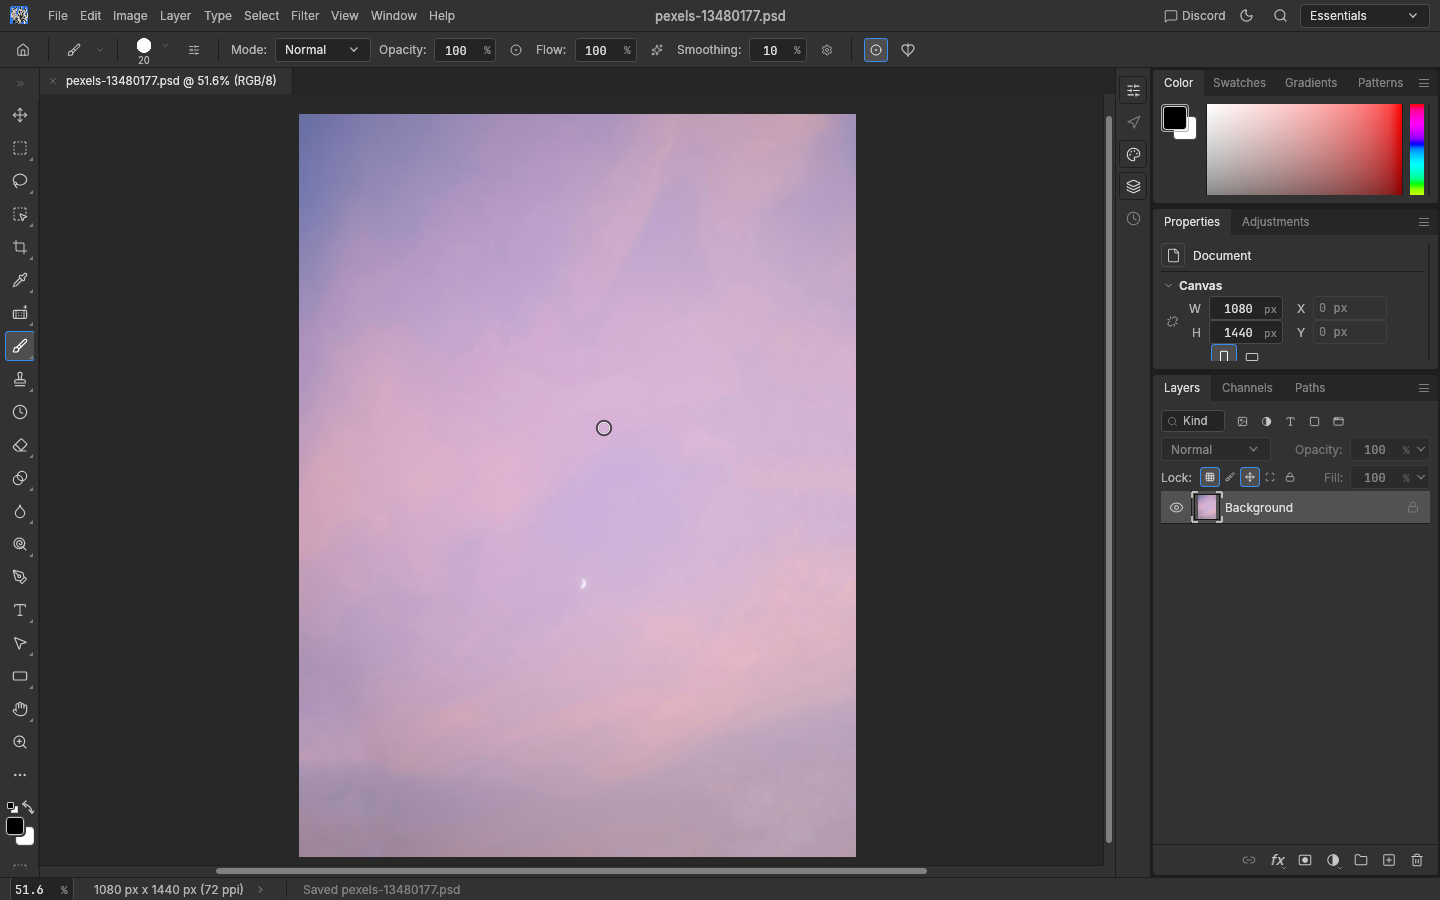
Press Ctrl+0 for Fit on Screen. The document centers in the workspace at whatever zoom level your window allows. If you need to double-check the actual pixel size, the status bar always shows the document dimensions.
8. Add your title
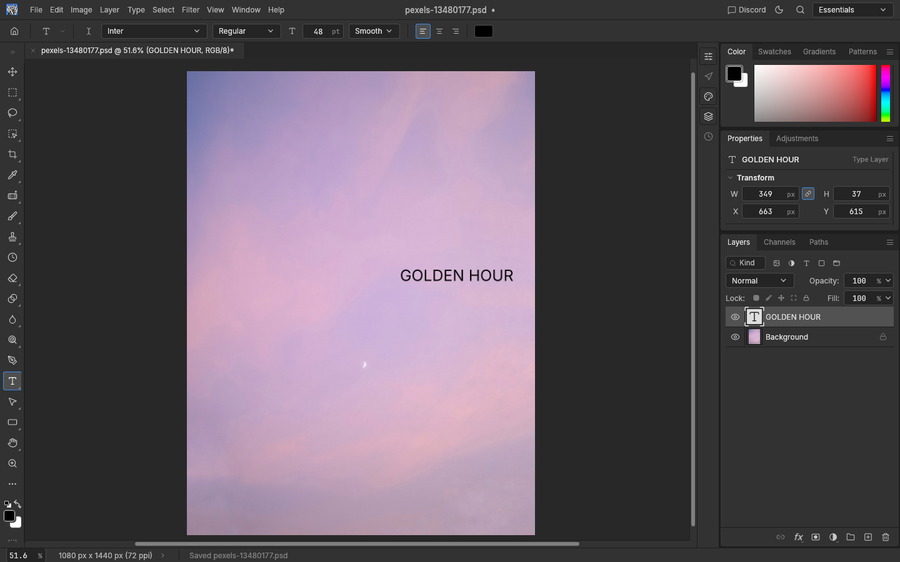
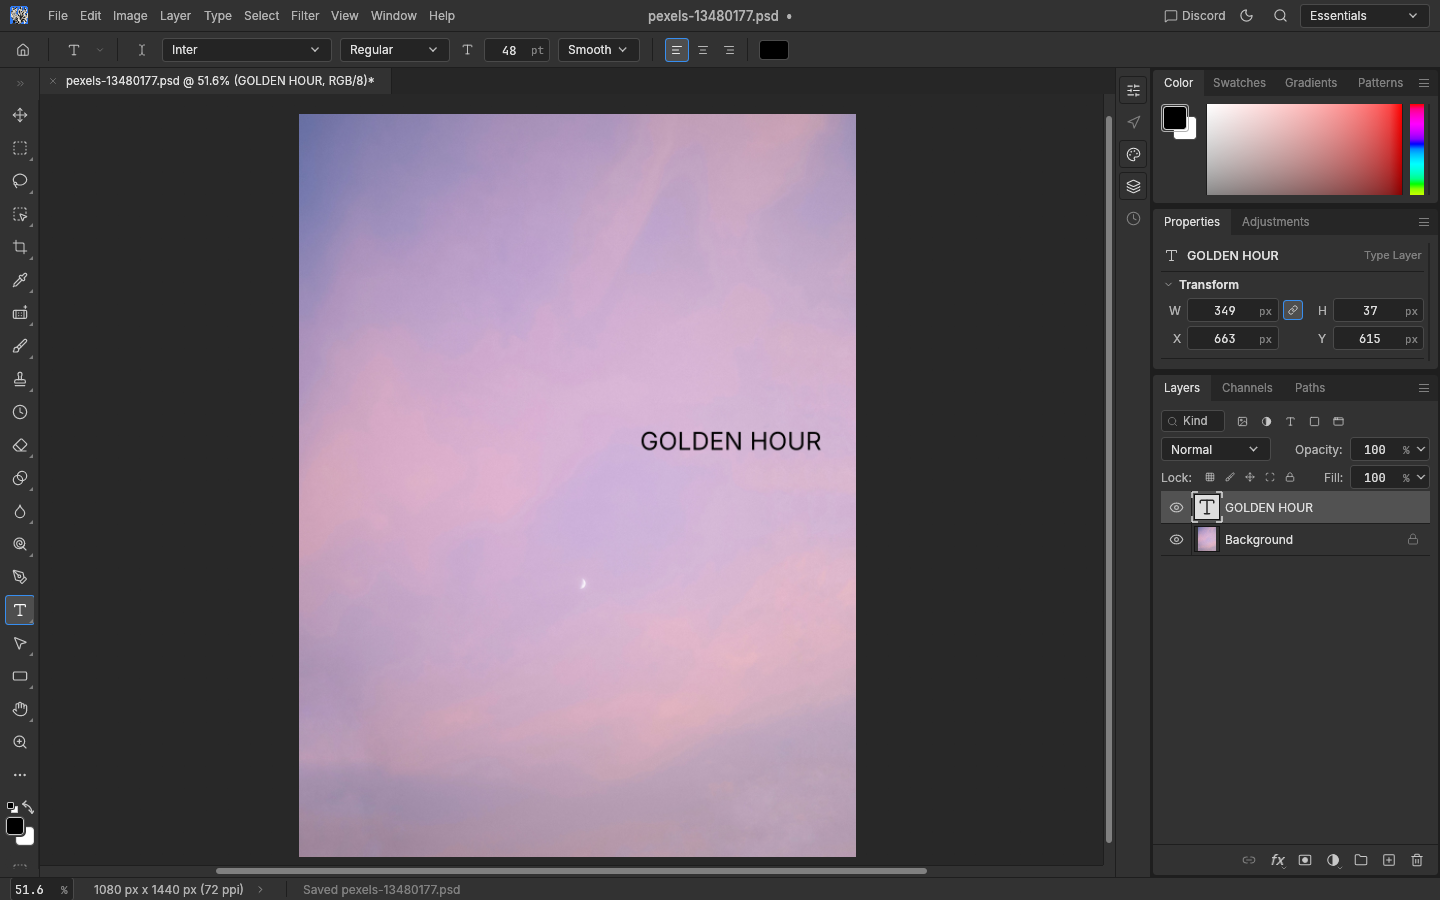
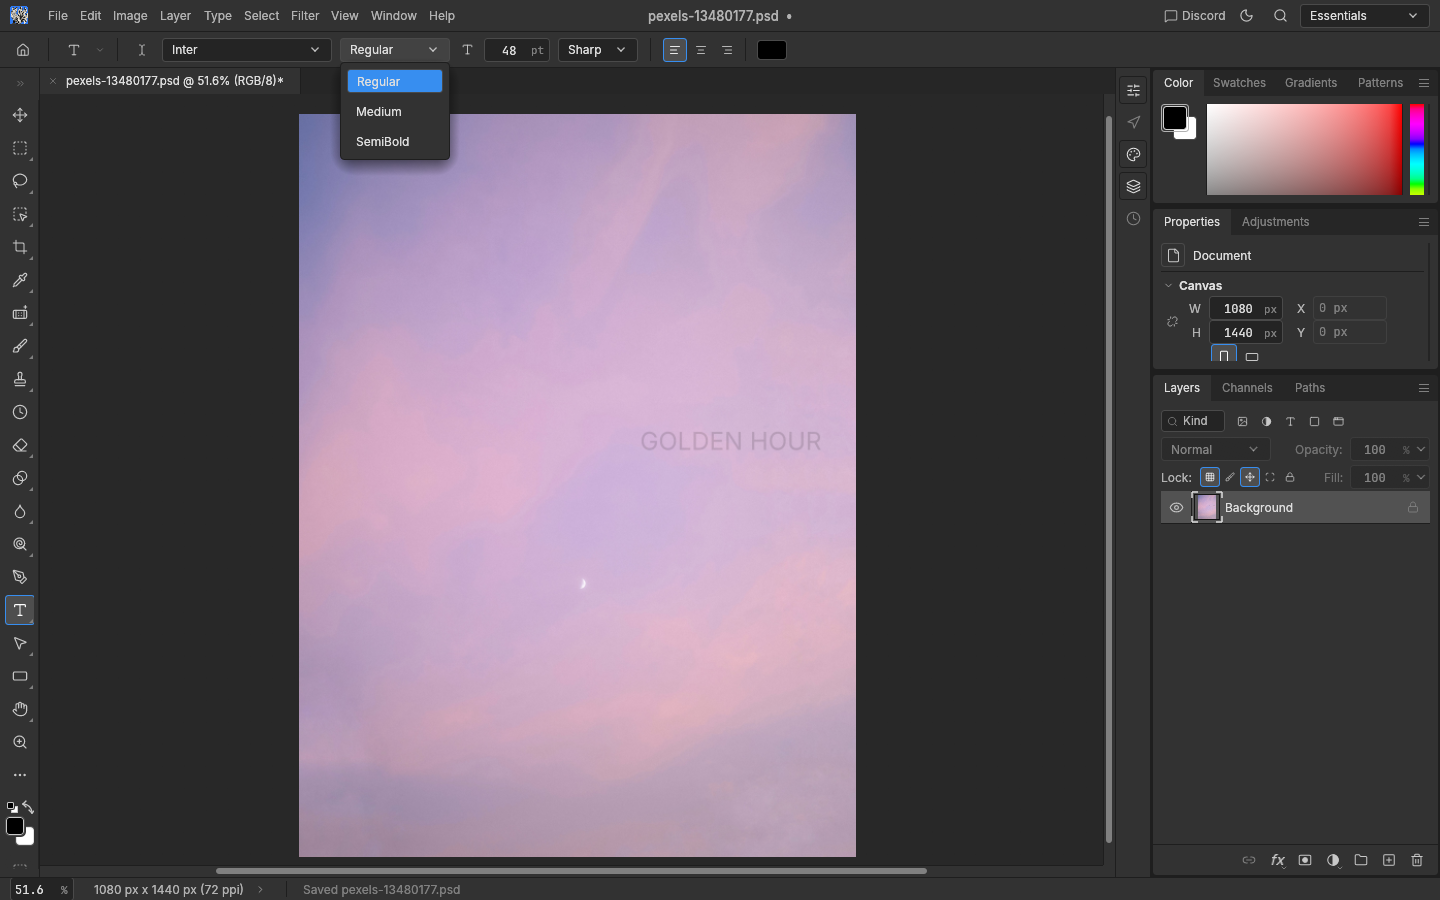
Press T to select the Type tool. The options bar along the top switches to show font, style, and size fields. Click anywhere on the photo to place a text caret, type GOLDEN HOUR, then press Escape to commit.
The screenshots here show the default 48 pt size, which looks small on a 1440-pixel canvas. You can pick a bigger size in the options bar before or after typing.
9. Check the two layers
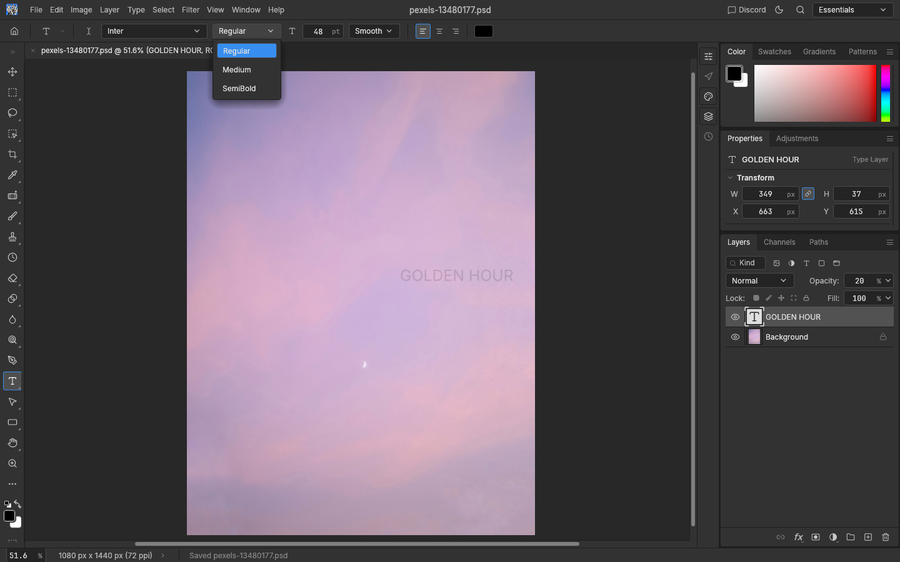
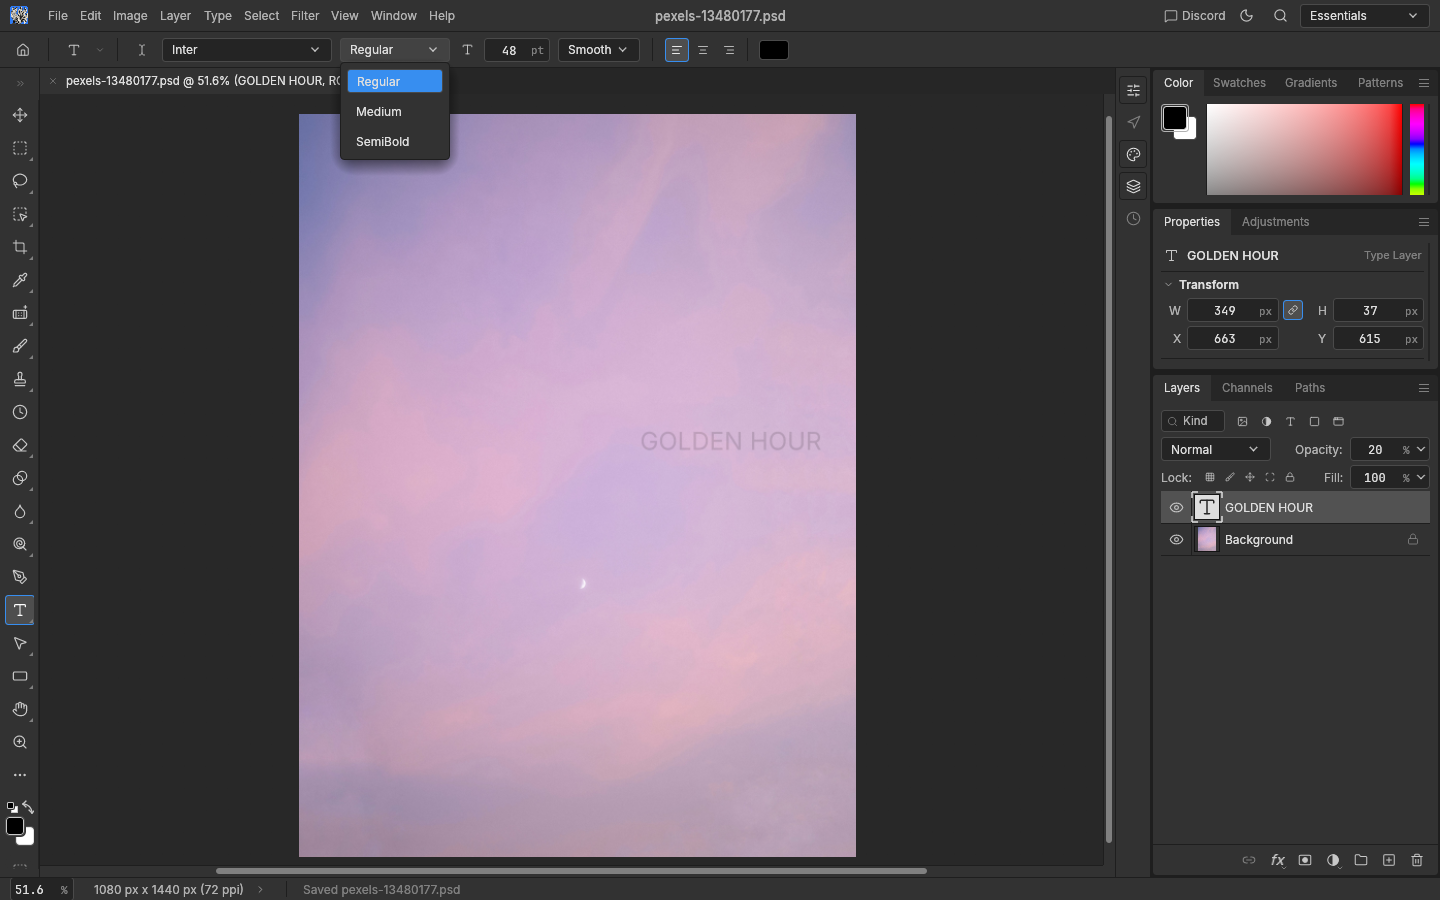
Look at the Layers panel. You should have two layers: Background and the GOLDEN HOUR text layer. The canvas should still read 1080 × 1440 pixels in the status bar.
10. Open Export As and check the PNG settings
Open File → Export → Export As, or press Shift+Ctrl+E. The dialog defaults already match what you need: Format PNG, Scale 100%, full canvas. Check those values, then click Export. The file saves through your browser's download, on your device.
The screenshot shows the Export As dialog and its settings. When you click Export in the live editor, your browser downloads the final PNG of this cover.
Your layered result
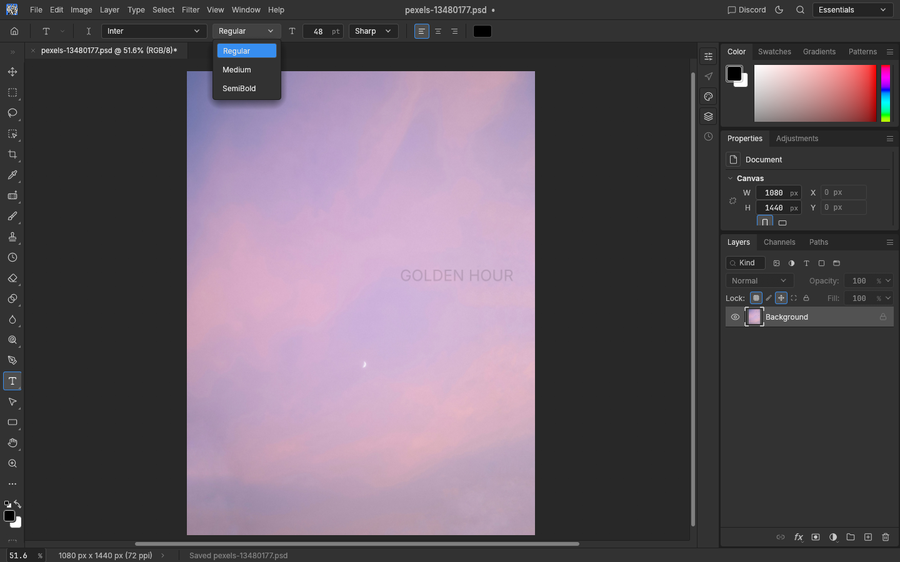
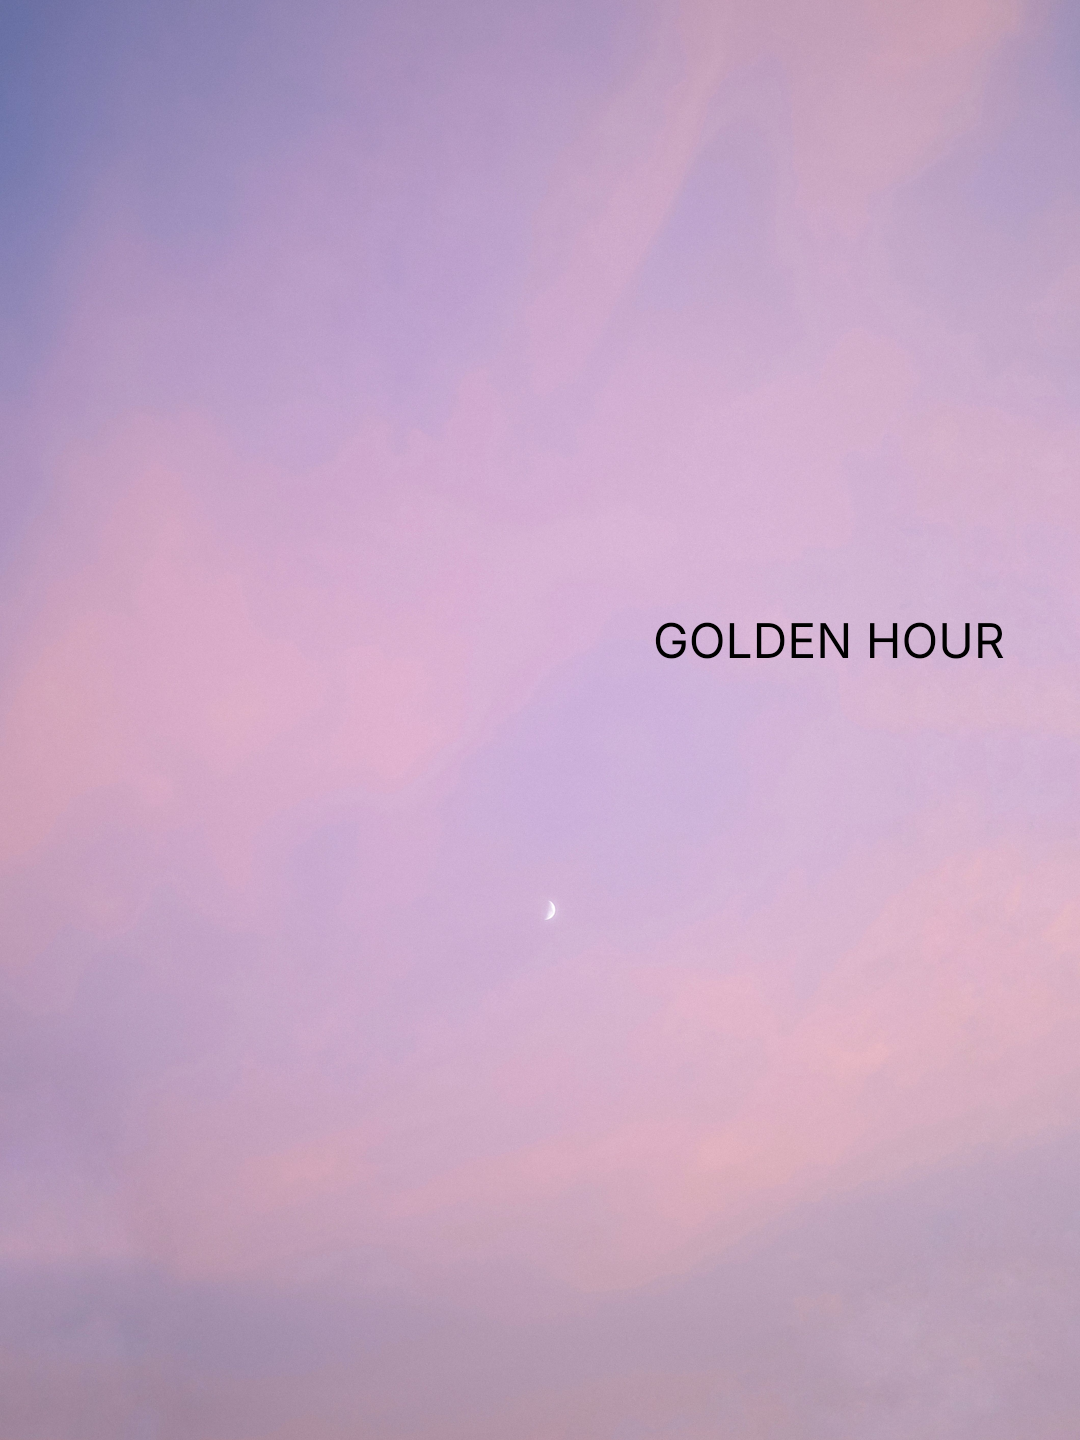
You now have a 1080 × 1440-pixel document with two layers: Background and GOLDEN HOUR. Export it from step 10 and your browser downloads the finished PNG. The cover below is a real export from these exact steps — 1080 × 1440, straight out of Export As.
Worth knowing about v0.7.0
- The Crop tool has W × H Res fields, but they did not constrain the crop box to a typed pixel size in v0.7.0. That is why this tutorial uses Image Size + Canvas Size for exact dimensions.
- Quick Export as PNG shortcuts did nothing in the web build. Use the Export As path shown in step 10.
- All steps were verified on the pinned v0.7.0 web build in October 2026. You can save an editable copy of your work anytime with Ctrl+S (Cmd+S).